
What could possibly be better than ice cream? Homemade ice cream made from goats milk of course! This simple recipe is a natural favorite for our family. Once you have the base down, you can make any flavor of ice cream you can dream of. This delicious ice cream base is a custard that I wanted to make into an ice cream for the creamier texture. I literally make a vanilla custard, could be any flavor of extract, and thin it out to make my ice cream base. From there you can add what ever you like and enjoy!
_______________________________________________________________________
_______________________________________________________________________
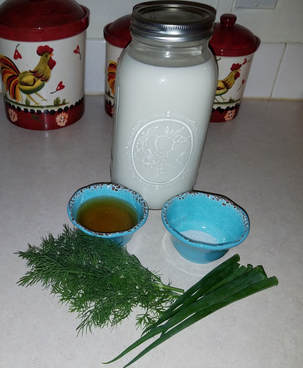
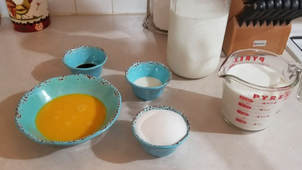 PREPARATION TIME: Preparing Custard Ice Cream Base - 20 min Cooling Ice Cream Base - 2 hours Turning Base Into Ice Cream - 30 min Cool To Harden (if desired) - 1-2 hours or over night | INGREDIENTS: * 4 Cups Goat Milk * 3 Eggs Beaten * 2/3 Cups Sugar * 2 Teaspoons Pure Vanilla Extract * 2 TBS Cornstarch with 1 TBS Water mixed * Oreo Cookies Crushed EQUIPMENT: * Stock Pot * Whisk * Spoon * Ice Cream Maker |
_______________________________________________________________________
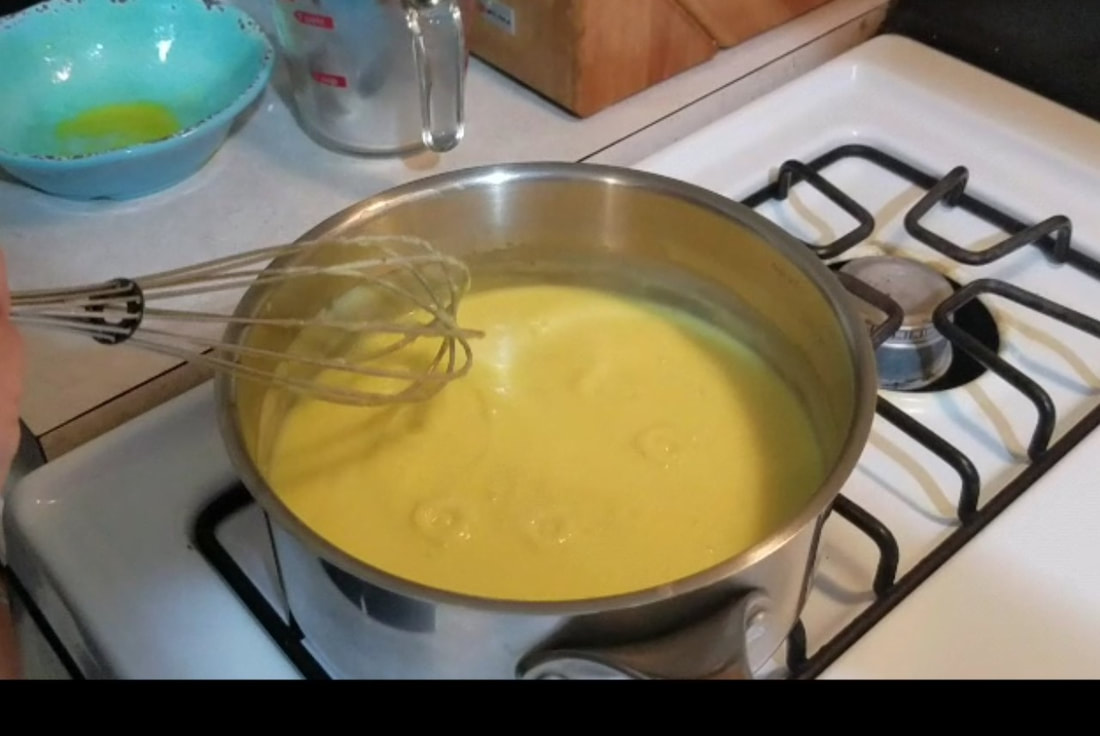
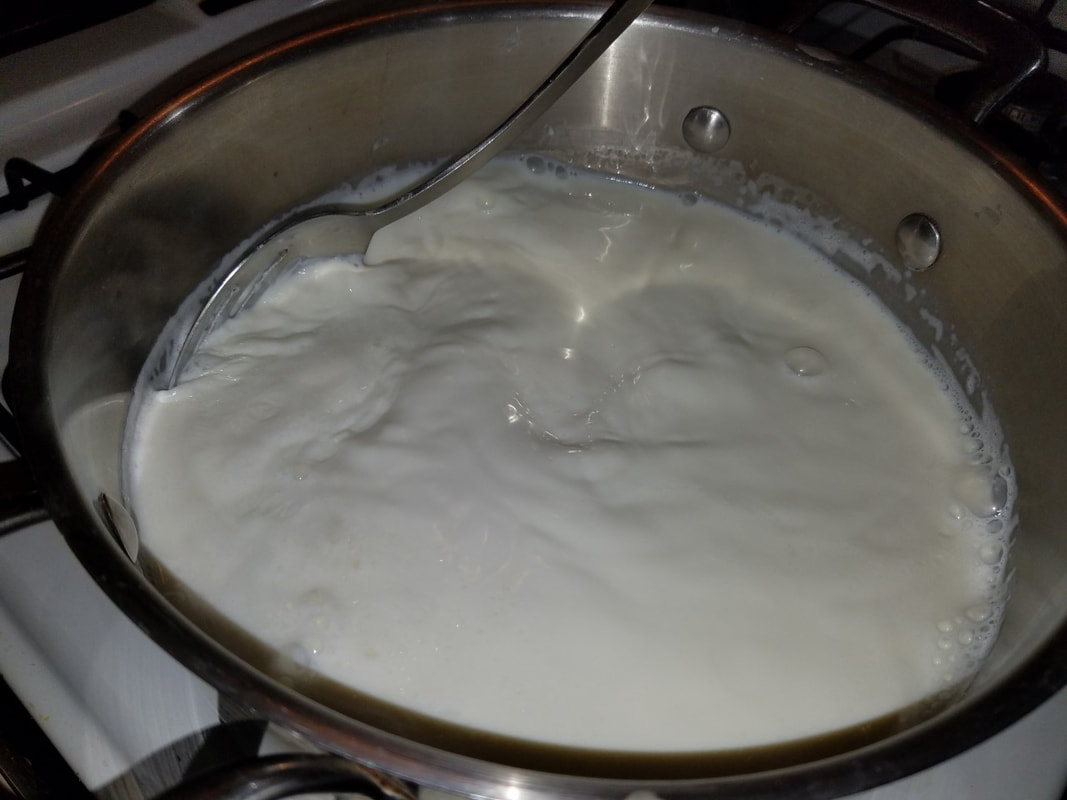
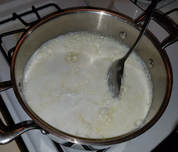
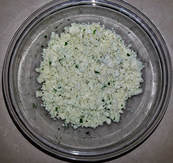
| To begin, you will need 2 of the 4 cups of goat milk, and pour into your pot. Add the sugar and cornstarch with water. Mix them together well. Turn your heat on medium and stir frequently. You do not want to leave the milk unattended or it can become lumpy, due to the cornstarch, or even boil over. Once the milk, sugar, and cornstarch begin to slightly steam and small bubbles create around the sides, turn of the heat and remove your pan from the hot burner. | 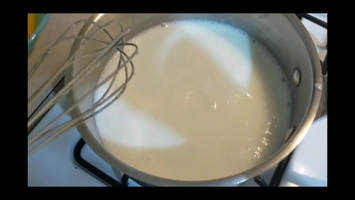 |
_______________________________________________________________________
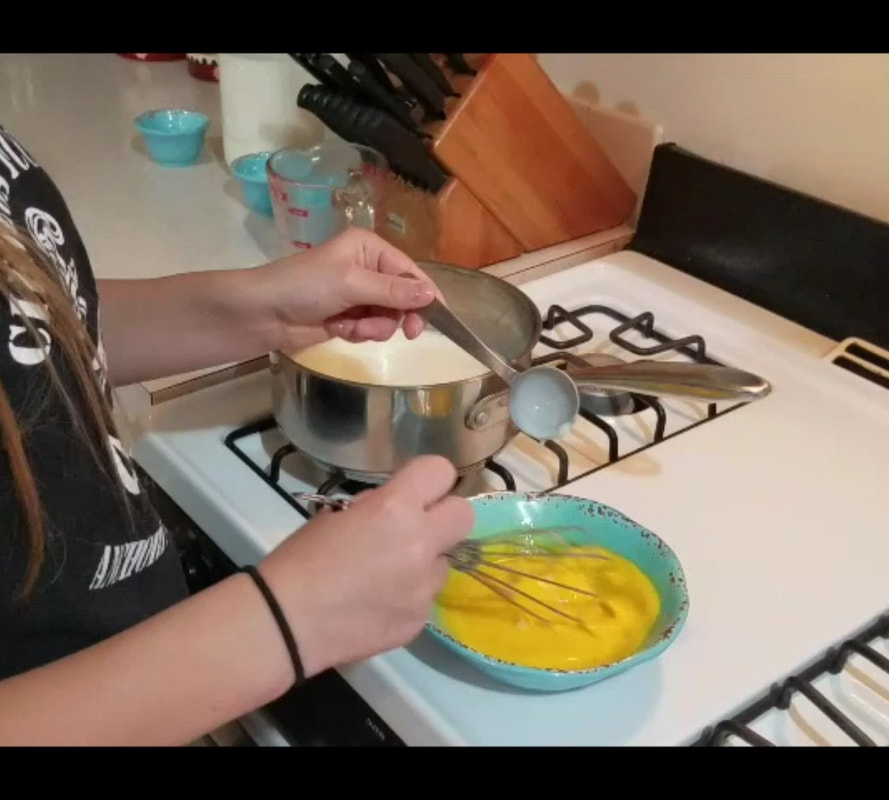 | 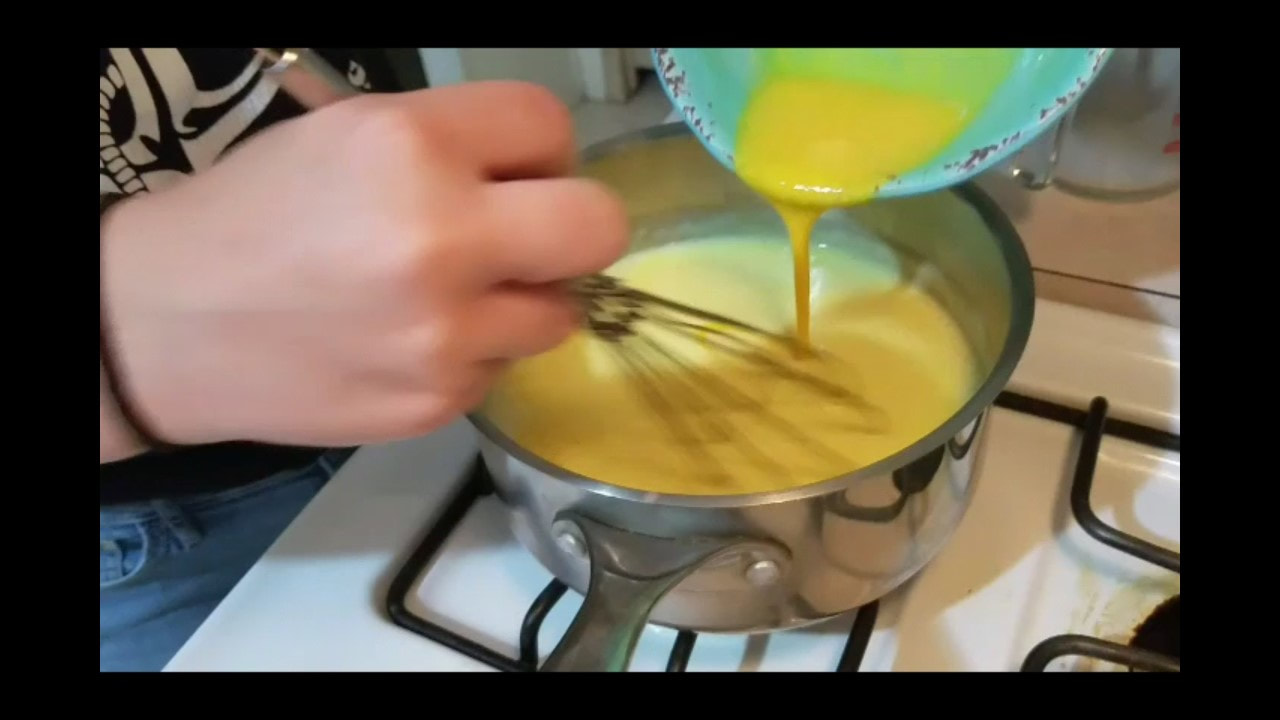 |
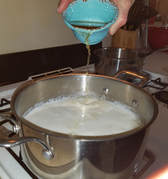
Once you have removed the pan from the hot burner, you are going to slowly incorporate the hot ,milk mixture to the beaten eggs, one tablespoon at a time. Mix each tablespoon into the eggs well before adding another tablespoon. You are looking to bring the cold, beaten eggs up to a warmer temperature so they do not cook, or scramble, like they would if your poured them directly into the hot milk mixture. Once you have added about eight tablespoons to the eggs, you can then begin to slowly add the the eggs to the milk mixture in the pan. Continue to slowly add the eggs little by little while whisking and incorporating well.
_______________________________________________________________________
_______________________________________________________________________
 | 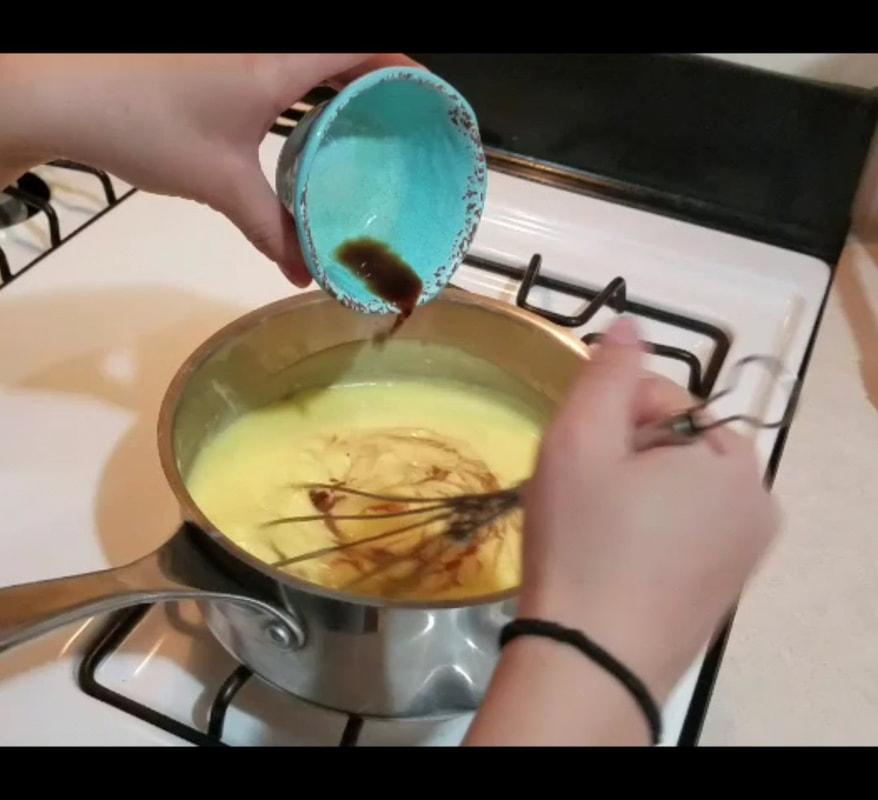 | 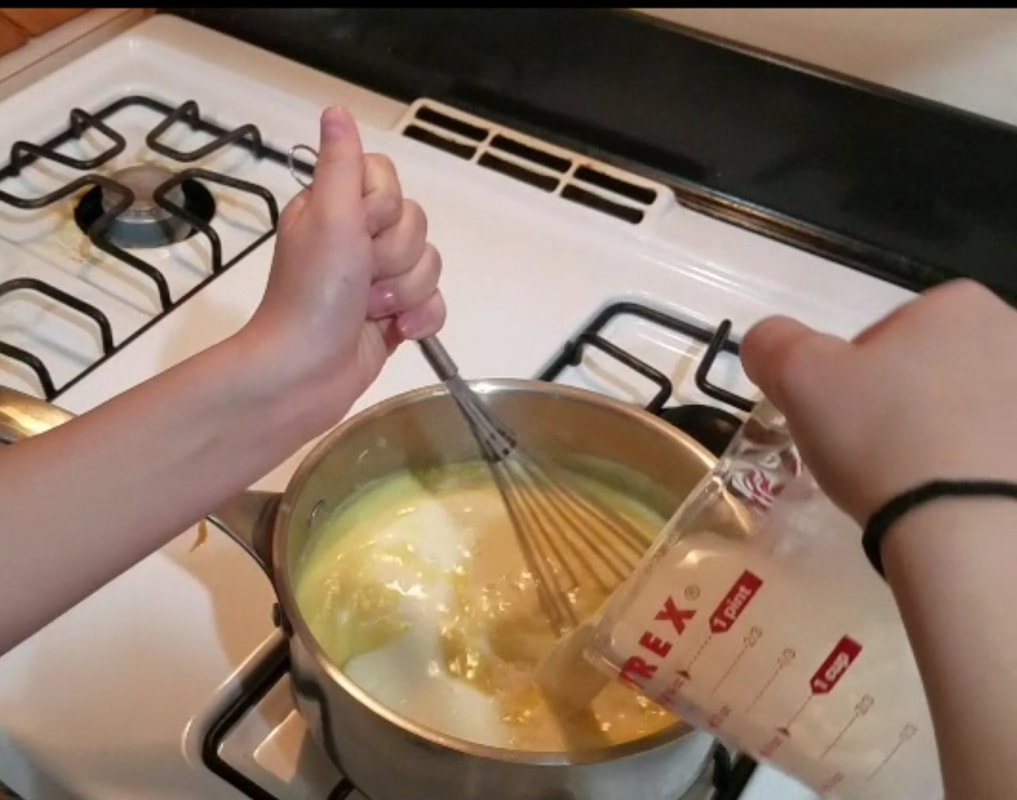 |
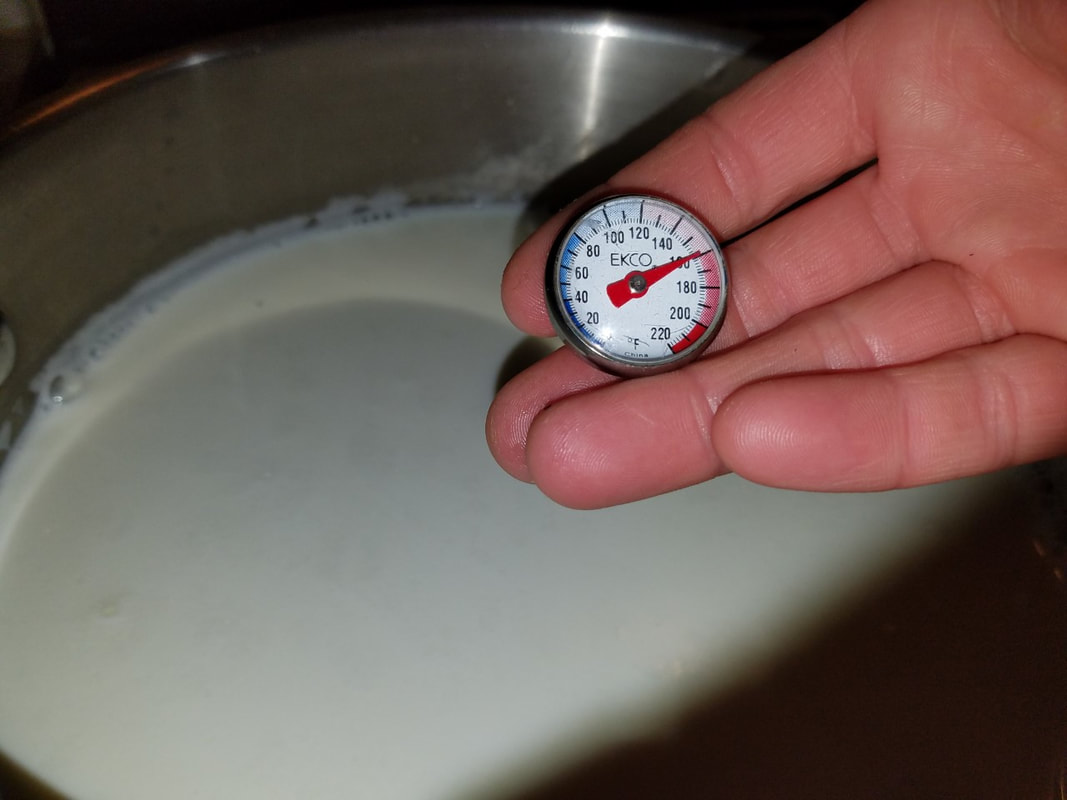
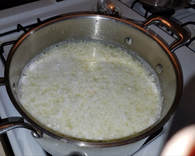
Once the eggs and milk mixture are completely mixed, put your pan back on the burner and turn to medium heat. You will want to make sure you are whisking at all times so the custard does not burn on the bottom or you do not create lumps. The custard will begin to boil slightly. Once you can see slight steam and bubbles begin to pop up to the top, turn off the heat and remove from the burner. At this point you will add in your pure extract vanilla. At this point you have vanilla custard! So here is where I make it a great ice cream base by doing something simple. I add the other 2 cups of goat milk into the custard and mix well until completely incorporated. All it does is dilute the custard to make a more than perfect base for my ice creams! Well, it also makes it more delicious because now there is even more goat milk involved.
_______________________________________________________________________
_______________________________________________________________________
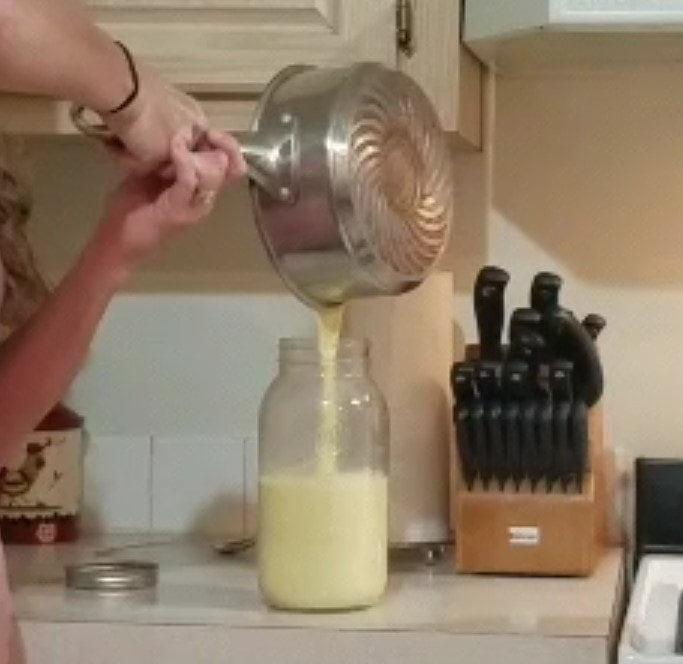 | 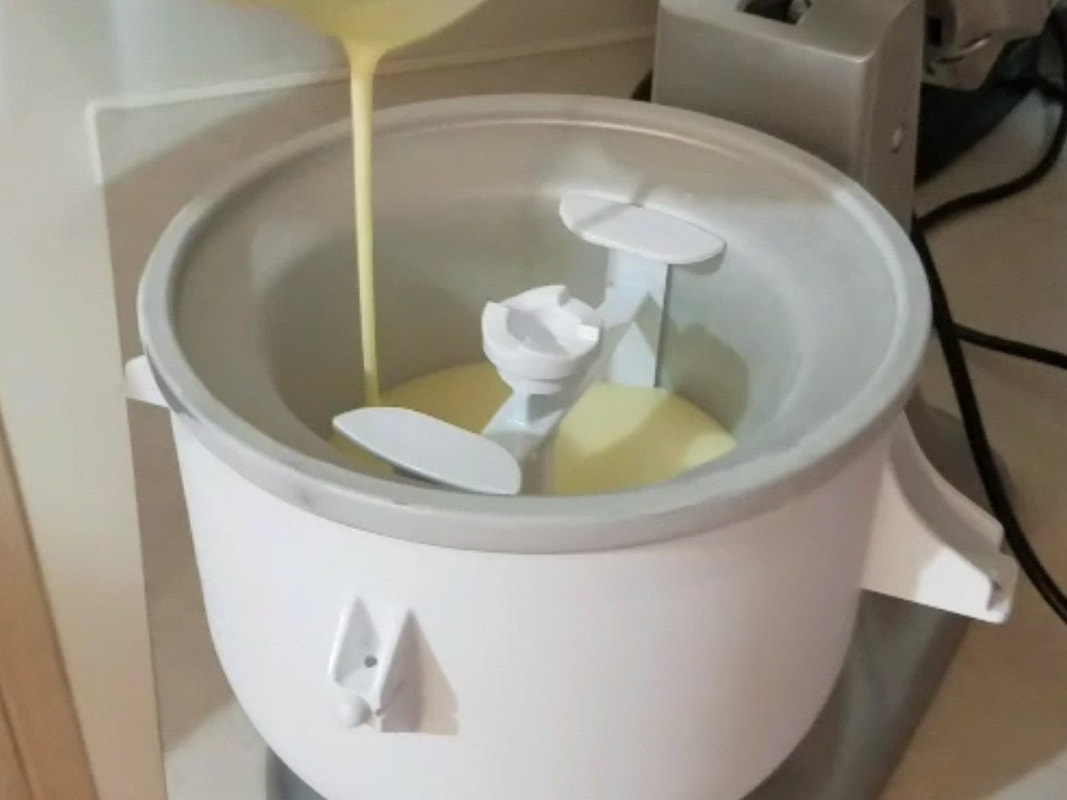 |
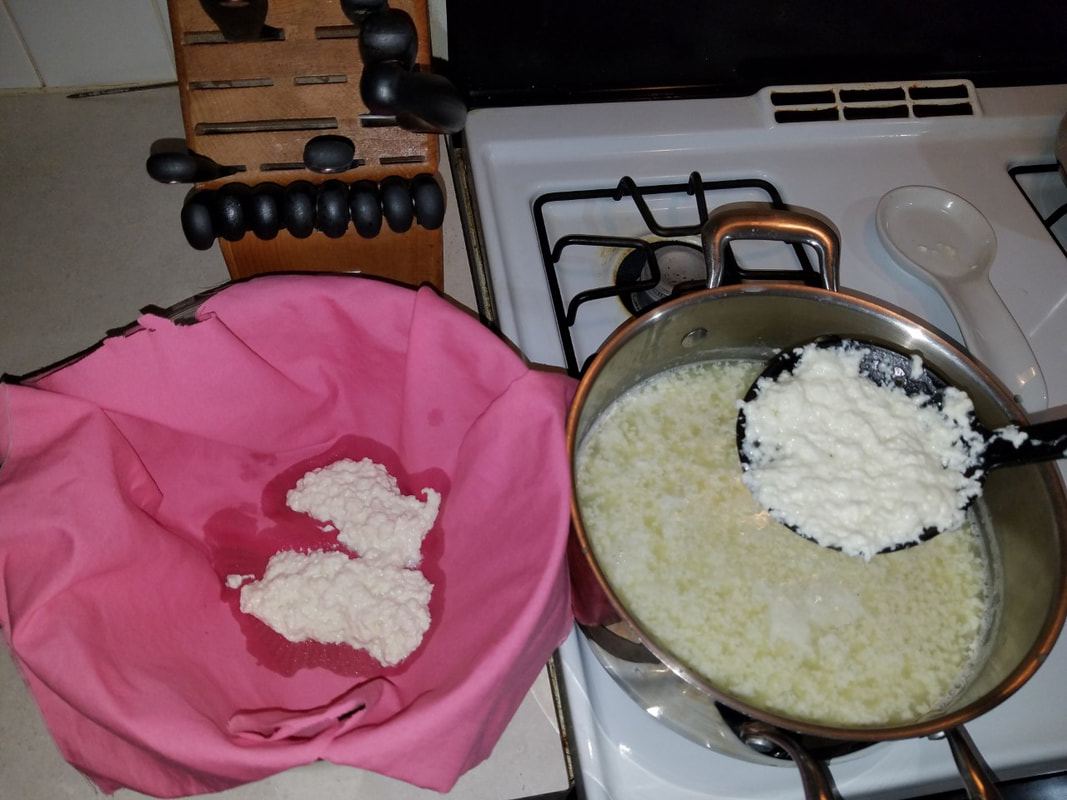
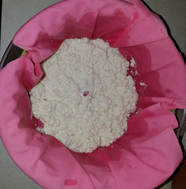
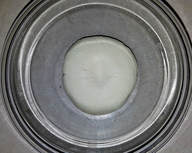
Now the ice cream base is way too hot to put into an ice cream maker at this point. So unfortunately you will need to cool it down before you pour it into the ice cream maker. Pour the ice cream base into a jar and place it into the refrigerator for two hours. Once that is cool, you can assemble your ice cream maker. I have one that attaches to my kitchen-aid mixer. Make sure to follow the instructions on whatever ice cram maker you are using. Pour the ice cream base into the ice cream maker and wait for the magic.
_______________________________________________________________________
_______________________________________________________________________
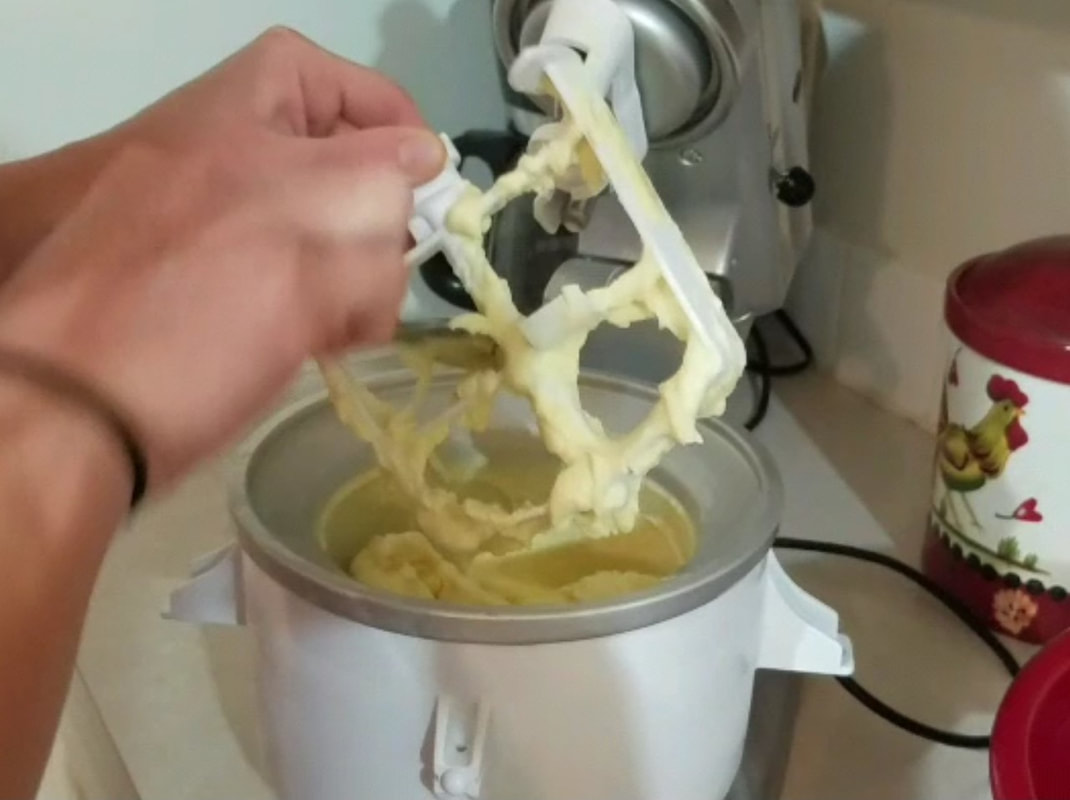 | 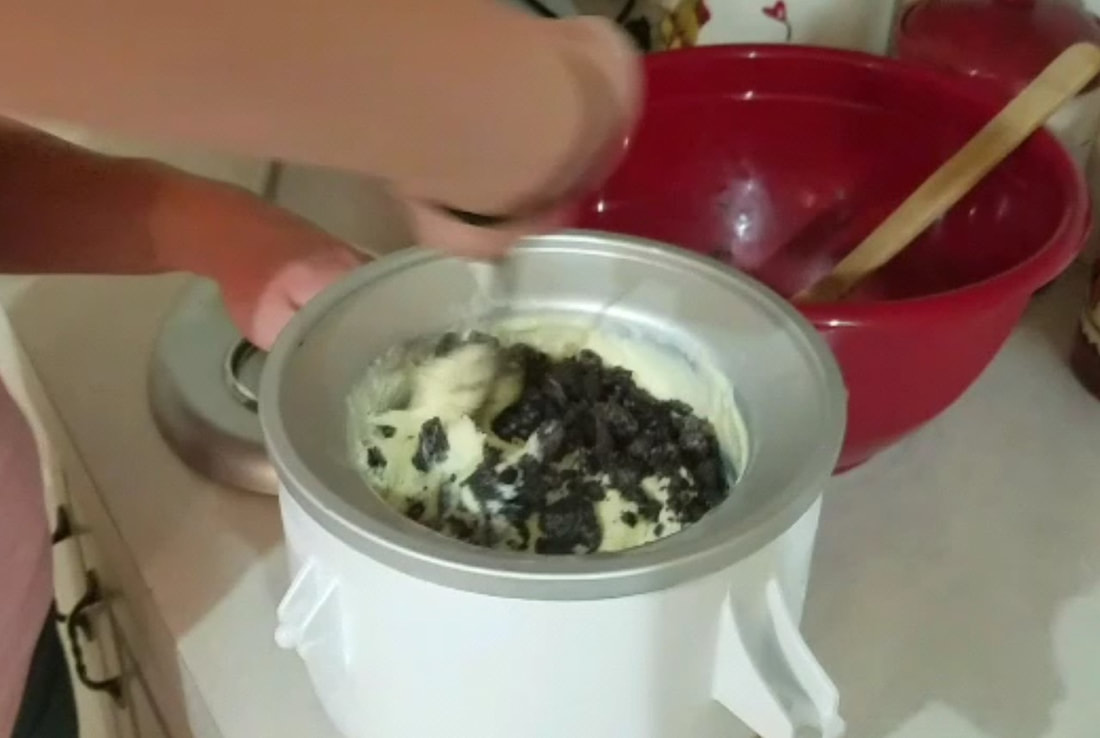 |
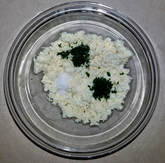
It should take about 30 minutes for your ice cream to be done. Keep in mind, it will not get as hard in the ice cream maker as if you pulled it out of the freezer. Remove any attachment or paddles and stir in your Oreo cookies that you have previously crushed. You can eat the ice cream right away or you can place in an air tight bowl and back into the freezer for an additional hour or two so it gets a little more firm. Either way, you have made the most delicious ice cream you will ever taste. Enjoy!!

 RSS Feed